Reference Library
How to Open a Watch Case
American pocket watch movements were fitted in a variety of case types. Each case type requires a different method to open in order to expose the movement. Use the following guide to determine the case type.
- 1. Examine the perimeter of the case and count the number of hinges, number of seams, and number of lips (protrusions or indentations).
- 2. If the case features one or more hinges, follow the instructions to open a hinged case below.
- 3. If the case has no hinges but features a lip (usually near the pendant), follow the instructions to open the friction back case below.
- 4. If the case has no hinges nor lips, but is characterized by two parallel seams around the edge, follow the instructions to open the screw bezel and back case below.
- 5. If the case has no hinges nor lips and is characterized by one seam instead of two, follow the instructions to open the swing-ring case below.
The guides below represent the most popular case types for American pocket watches.
While uncommon, other case types were also manufactured. With caution, the principles below can be utilized to open other case types. The images below are general representations of the most common case types. Your case material, design, and style may differ from these examples.
Hinged Case
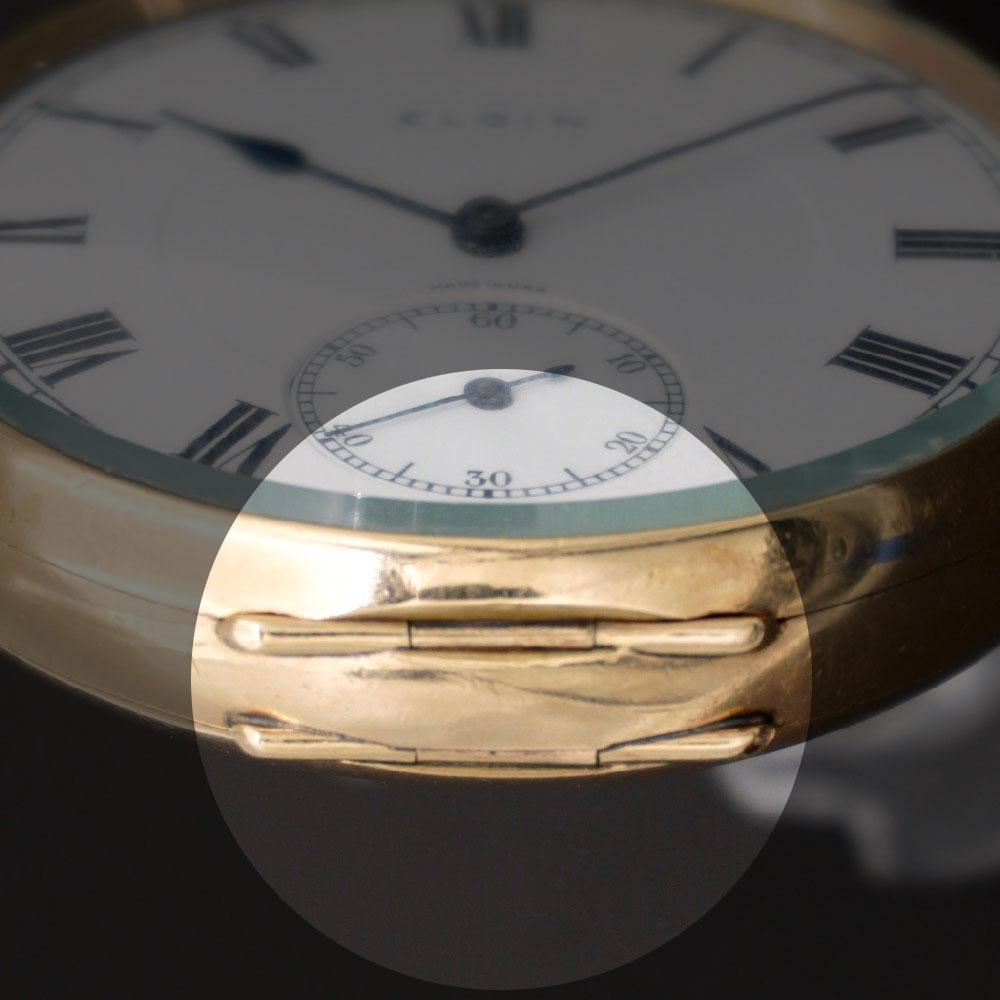
Step 1
Identify the case by locating the hinge(s) along the perimeter of the case.
Hunting cases and some open face cases will feature a hinged case design.
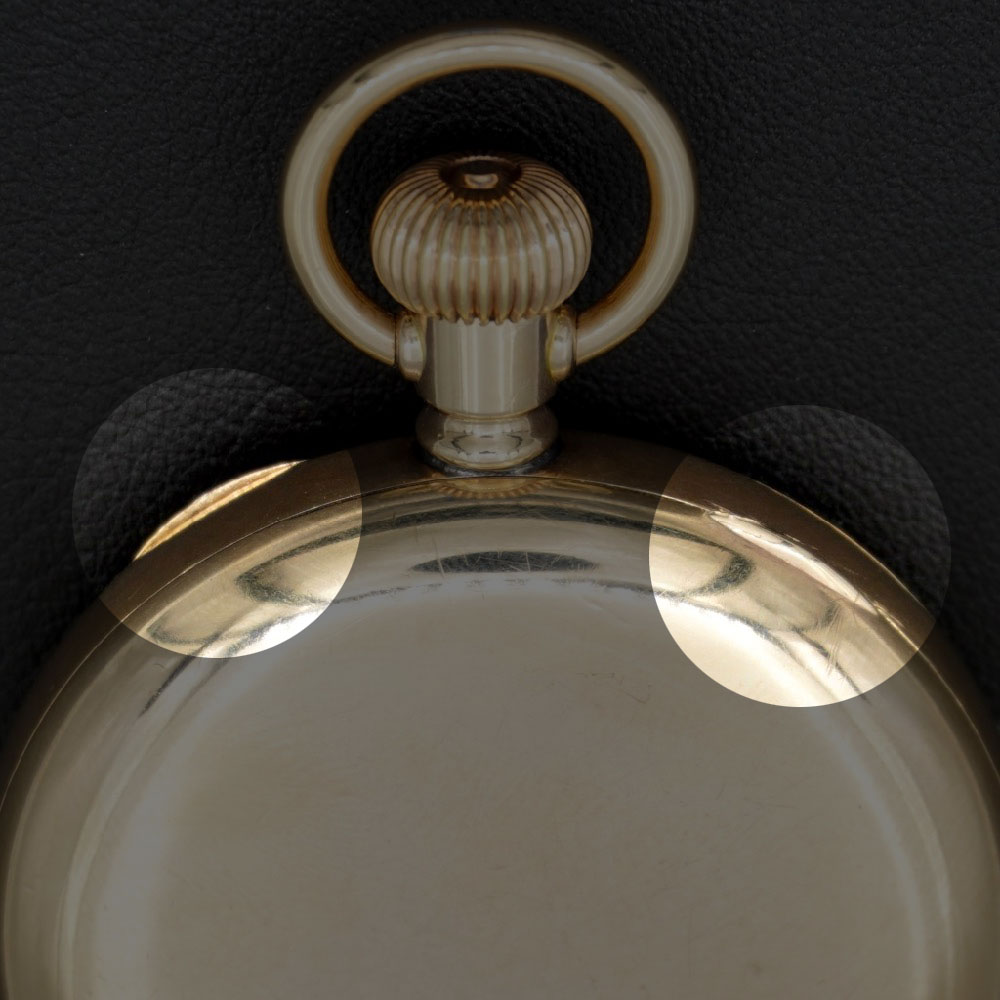
Step 2
Locate the lip(s) along the perimeter near the pendant. Hunting cases typically only feature one while open face cases are generally characterized with two. To open the case, focus on the lip located along the back.
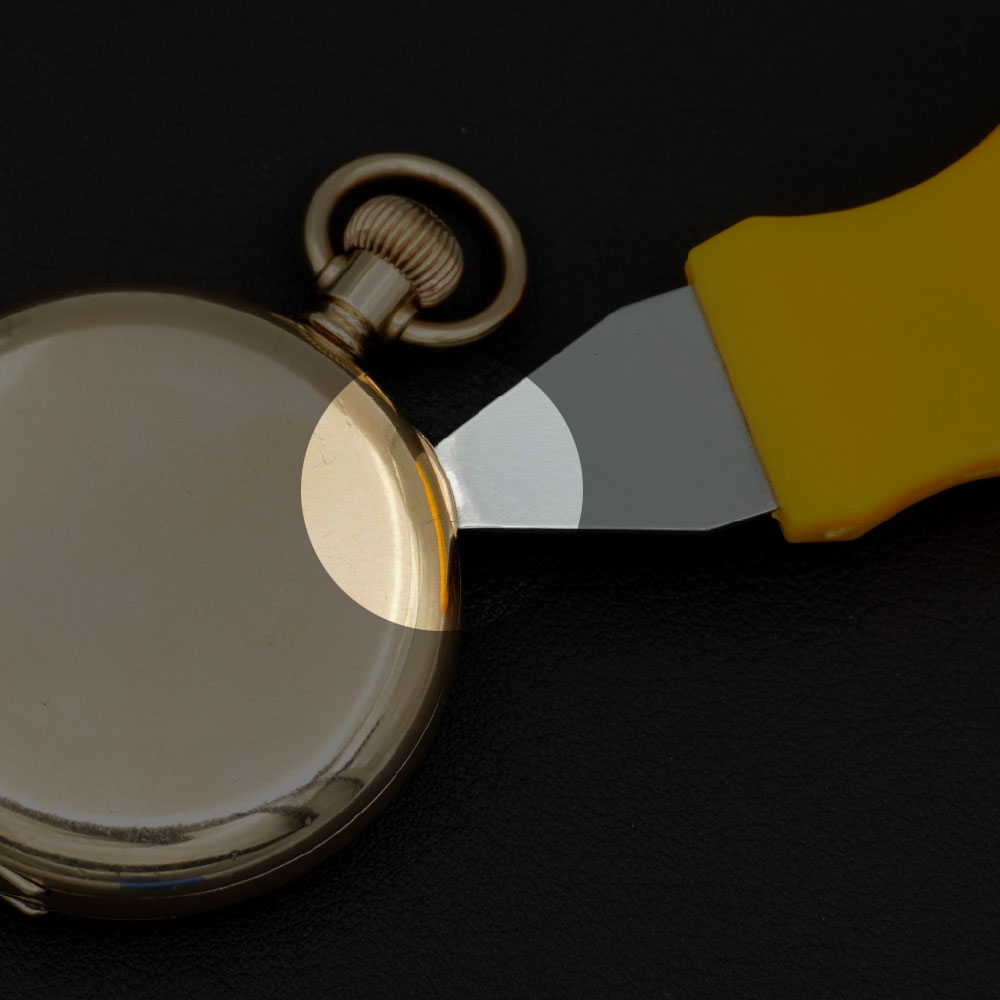
Step 3
Proceed with caution. The following step can result in scratches or other damage to the movement if the tool slips.
Applying adequate counter-pressure can assist in controlling the tool while inserting.
Carefully insert a case knife or thin dull blade into the space between the lip and the case. Once the blade is in place, twist the tool slightly to separate and "pop" the cover. To prevent scratches and other damage, do not apply pressure toward the center of the case.
Order a Case Knife Kit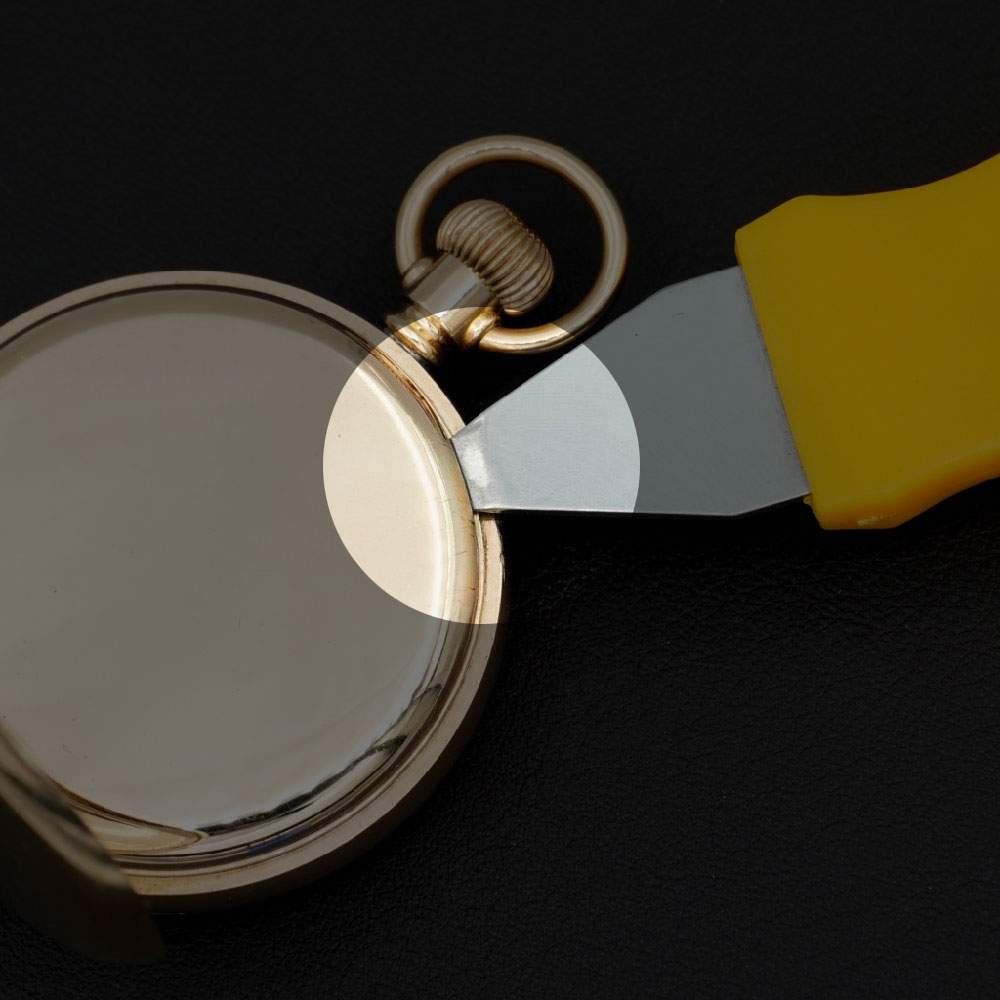
Step 4
Proceed with caution. The following step can result in scratches or other damage to the movement if the tool slips.
Applying adequate counter-pressure can assist in controlling the tool while inserting.
If there is an inner dust cover, repeat the previous step with a case knife or dull blade. To prevent scratches and other damage, do not apply pressure toward the center of the case.
Order a Case Knife Kit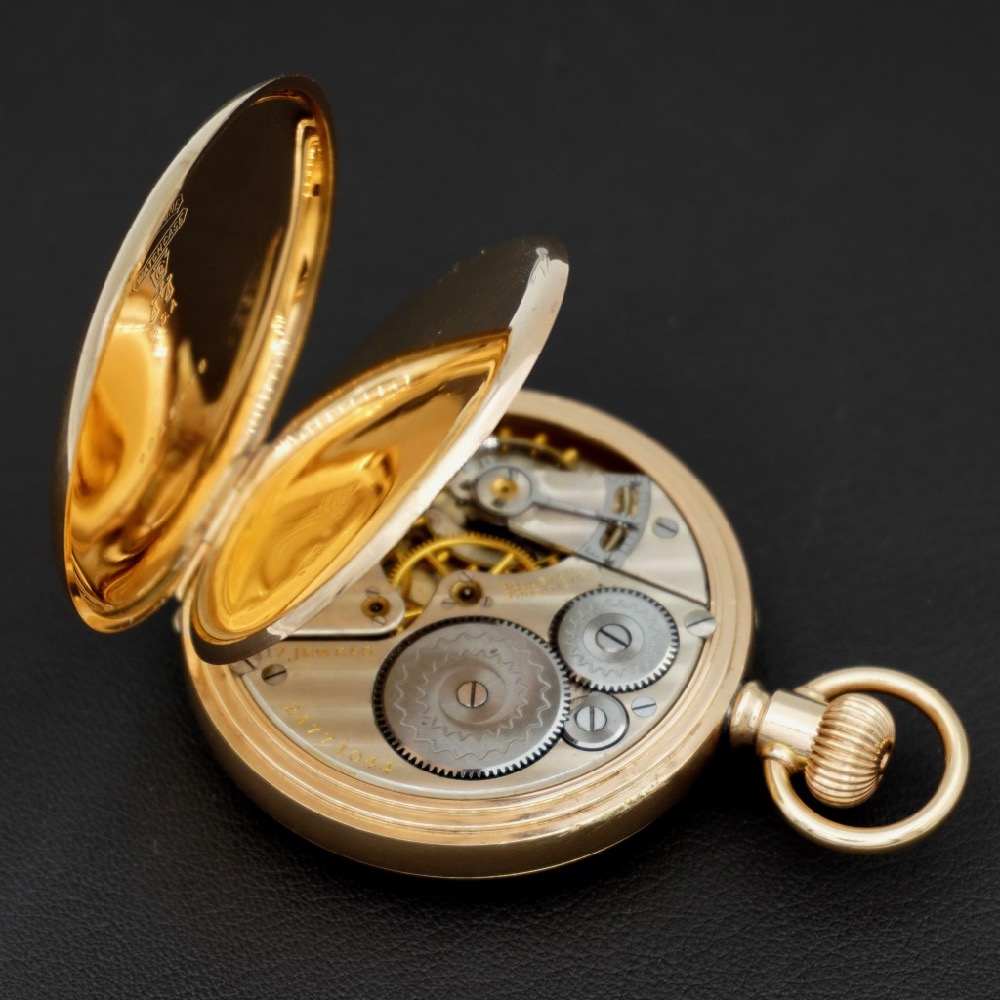
Step 5
Many of the parts inside the watch are very delicate and should be handled with care. Do not touch the watch movement with bare fingers.
We recommend snapping a few clear photos of the movement prior to closing the case.
Now that the case has been opened, the serial number and movement details can be viewed.
The watch case should not be kept open for an extended period of time. Each of the covers can be "snapped" back into place by applying pressure around the edge.
Screw Back & Bezel Case
Step 1
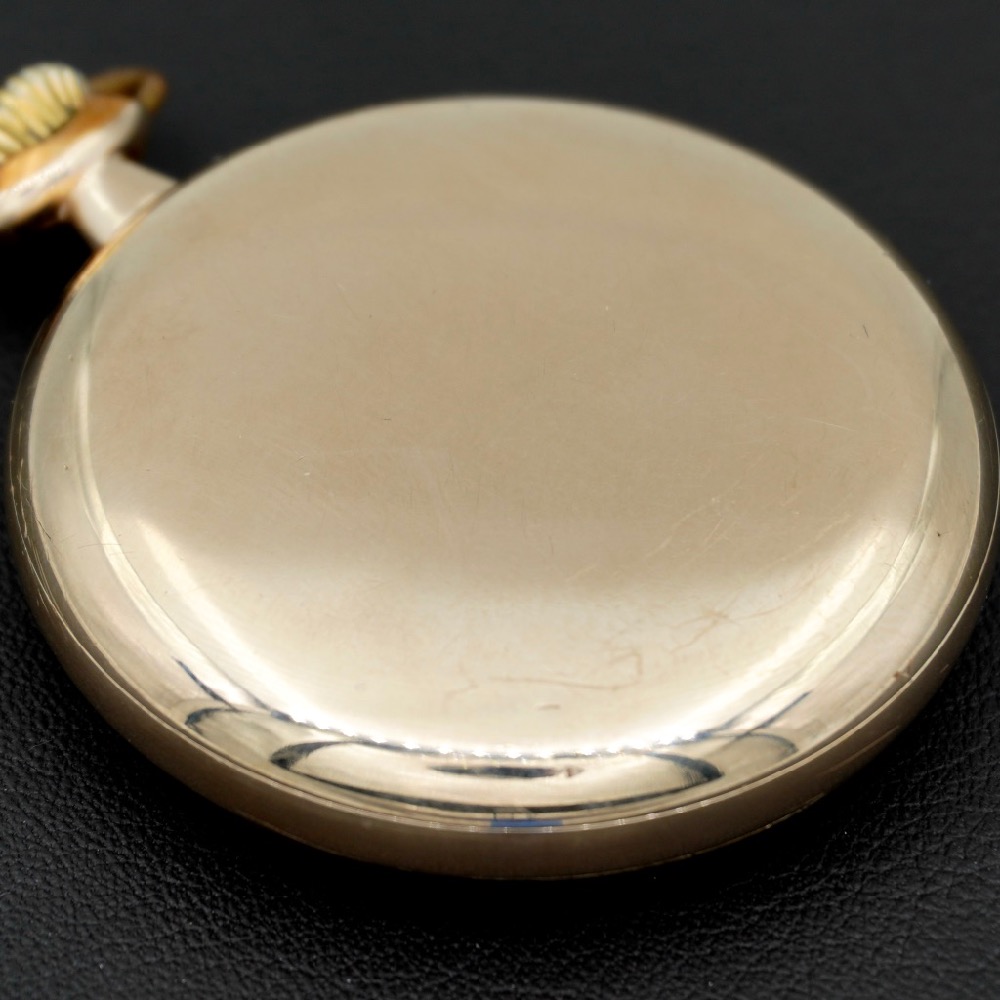
Identify the case by verifying there are no hinges or lips around the perimeter of the case.
Step 2
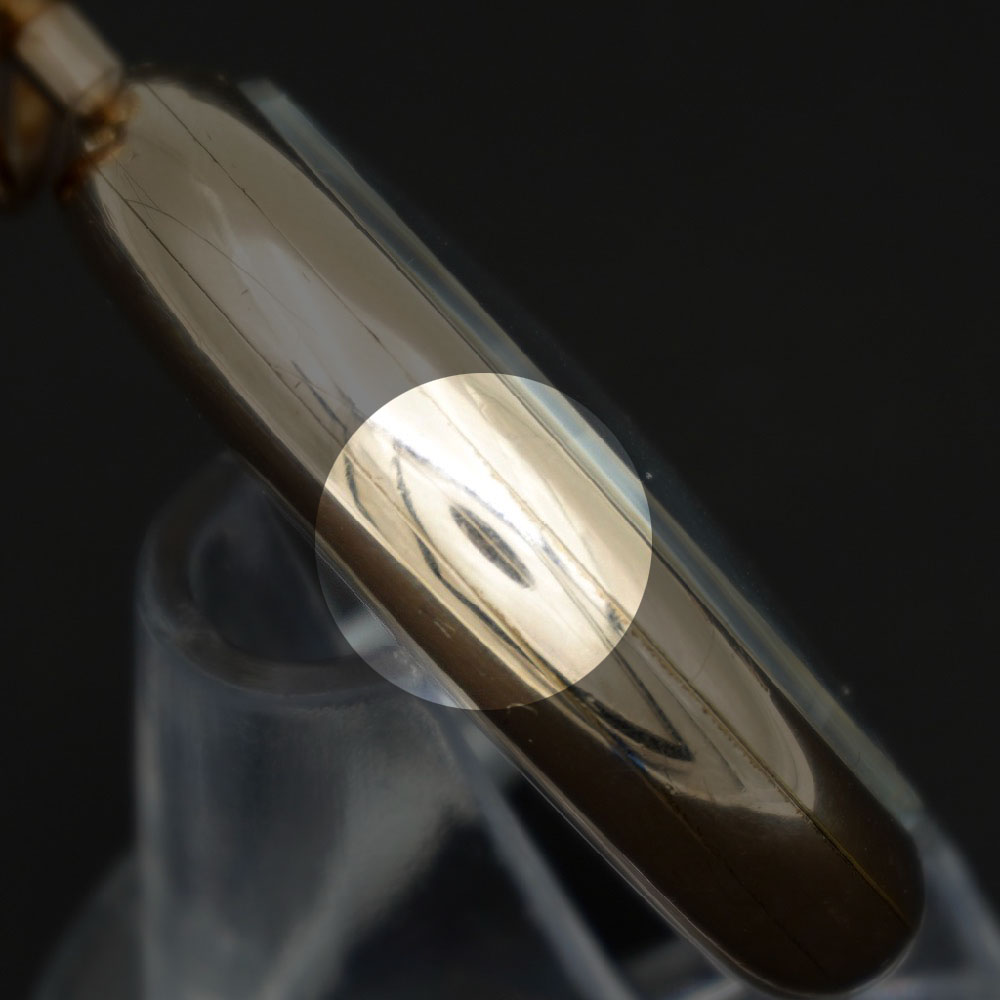
Count the number of seams around the edge. If there is only one seam, closer to the dial side of the watch, follow the instructions to open a swing-ring case. If there are two seams and no lips or indentations, proceed with this guide.
Step 3
Many of the parts inside the watch are very delicate and should be handled with care. Do not touch the watch movement with bare fingers.
We recommend snapping a few clear photos of the movement prior to closing the case.
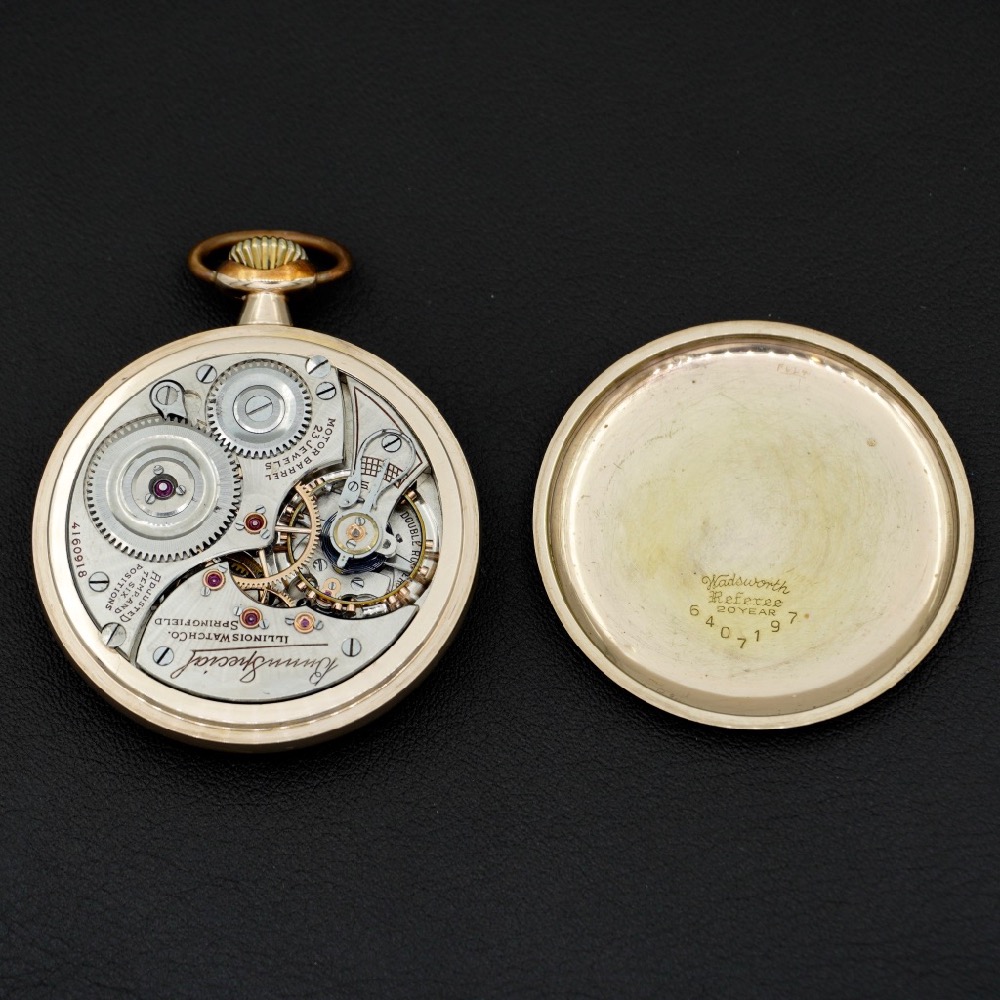
Hold the watch dial down in your hand and screw the back off like a jar lid, applying slight downward pressure with the other palm to start the rotation, if needed.
The watch case should not be kept open for an extended period of time. The back can be replaced by screwing it on like a jar lid. Take caution not to cross the threads or force rotation if the back is not aligned properly.
Swing-Ring Case
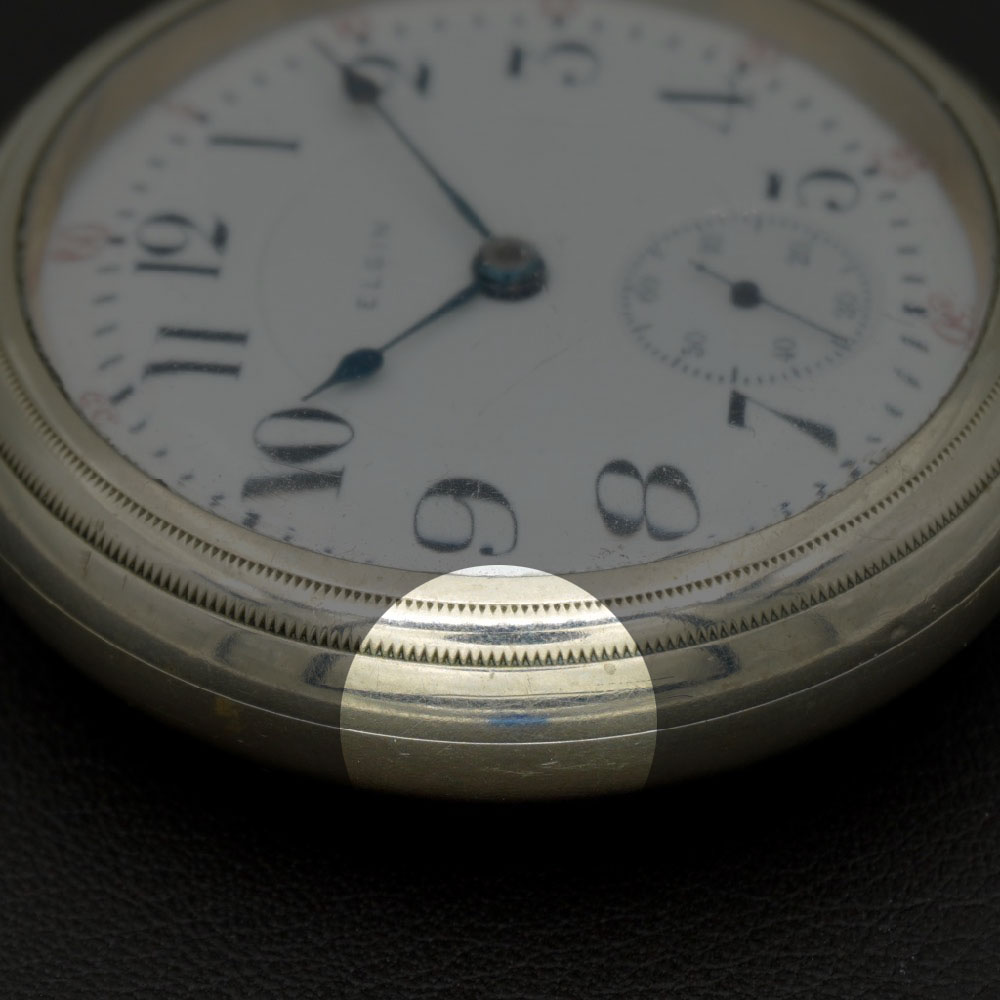
Step 1
Identify the case by verifying there are no hinges or lips around the perimeter of the case.
Swing-Ring cases are typically found with 18-Size movements.
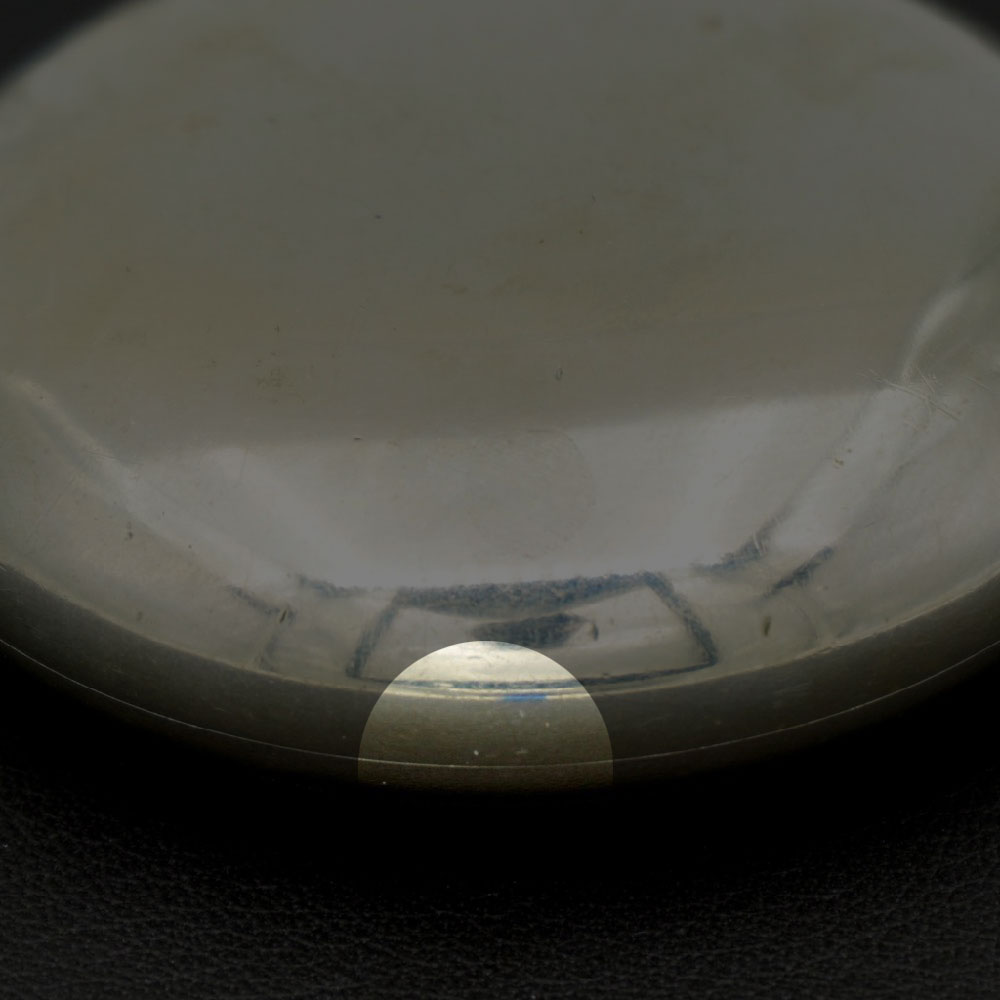
Step 2
Count the number of seams around the edge. If there are two seams, follow the instructions to open a screw back & bezel case. If there is only one seam near the dial-side of the watch and no lips or indentations, proceed with this guide.
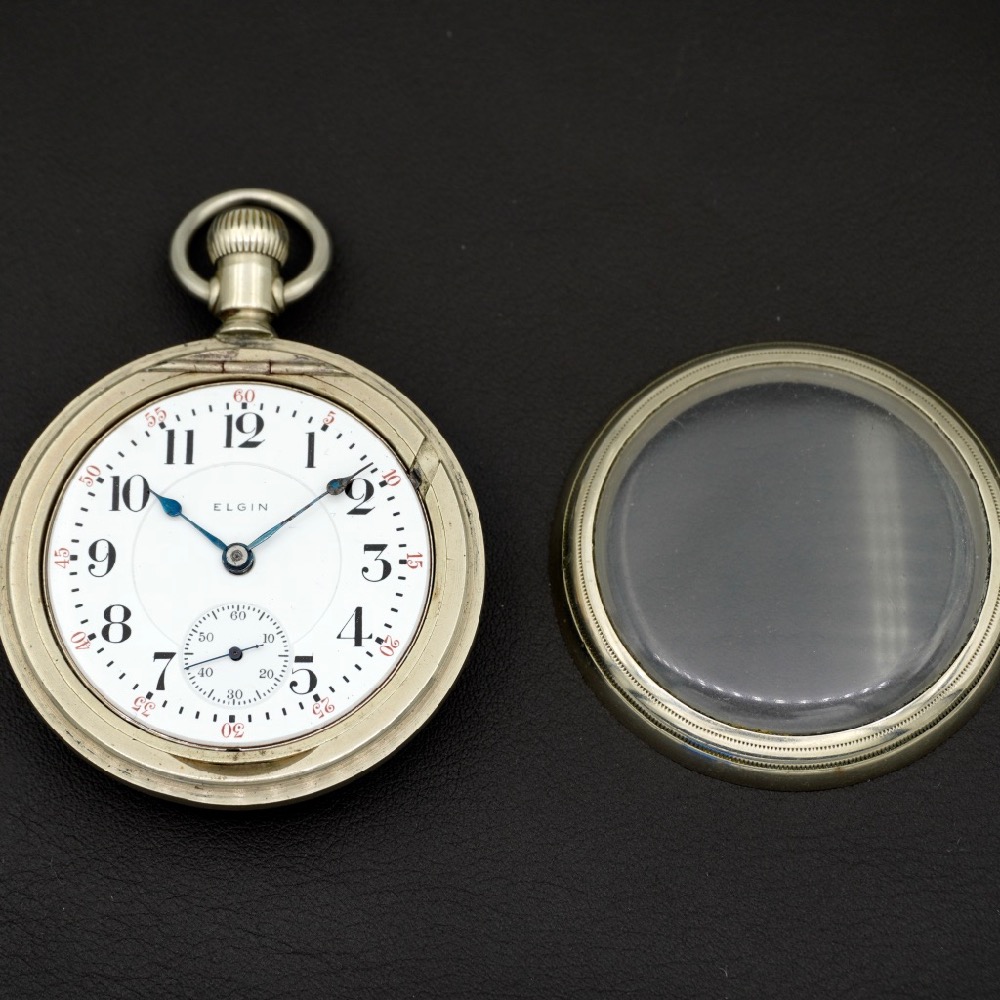
Step 3
Hold the watch dial up in your hand and screw the bezel off like a jar lid, applying slight downward pressure with the other palm to start the rotation, if needed. Remove the bezel and set it aside.
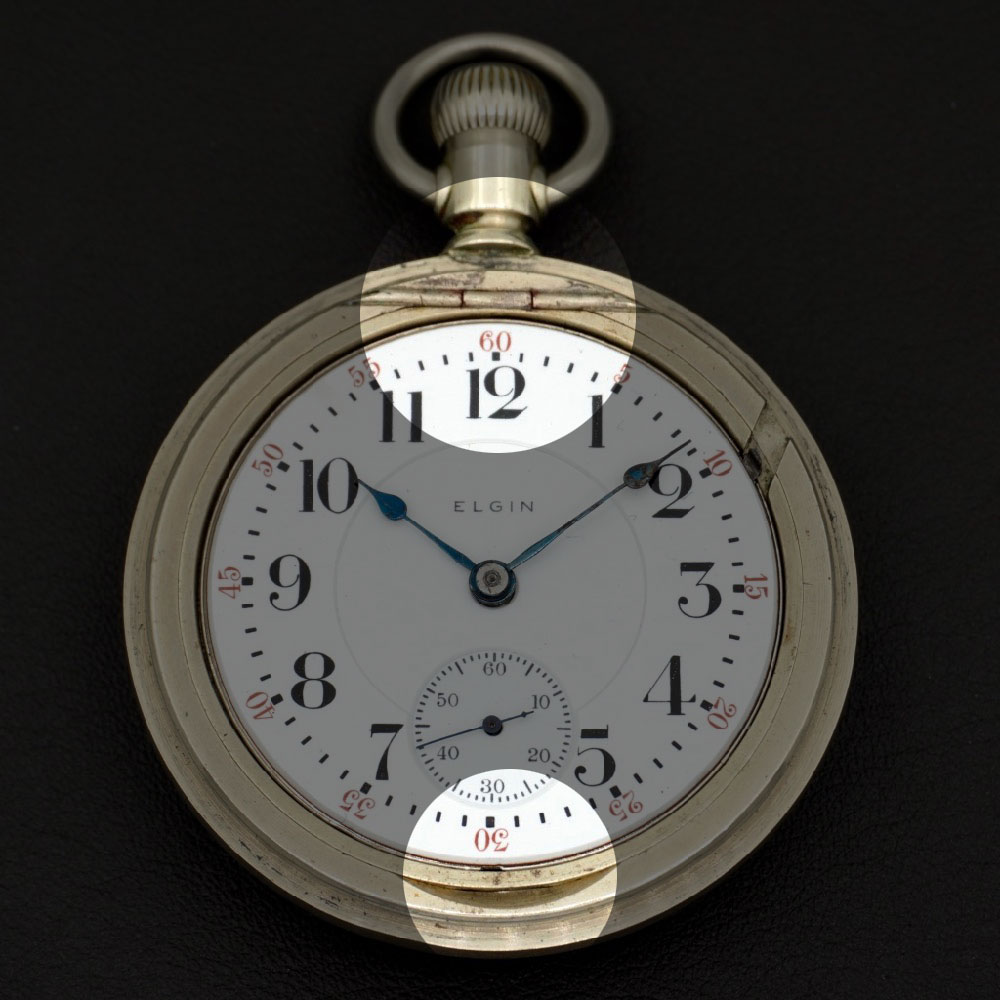
Step 4
Identify the hinge above the dial and the lip below the dial.
If these elements are not present, consider checking the perimeter of the watch case for an additional seam, hinge, or lip and following one of the other guides.
Step 5
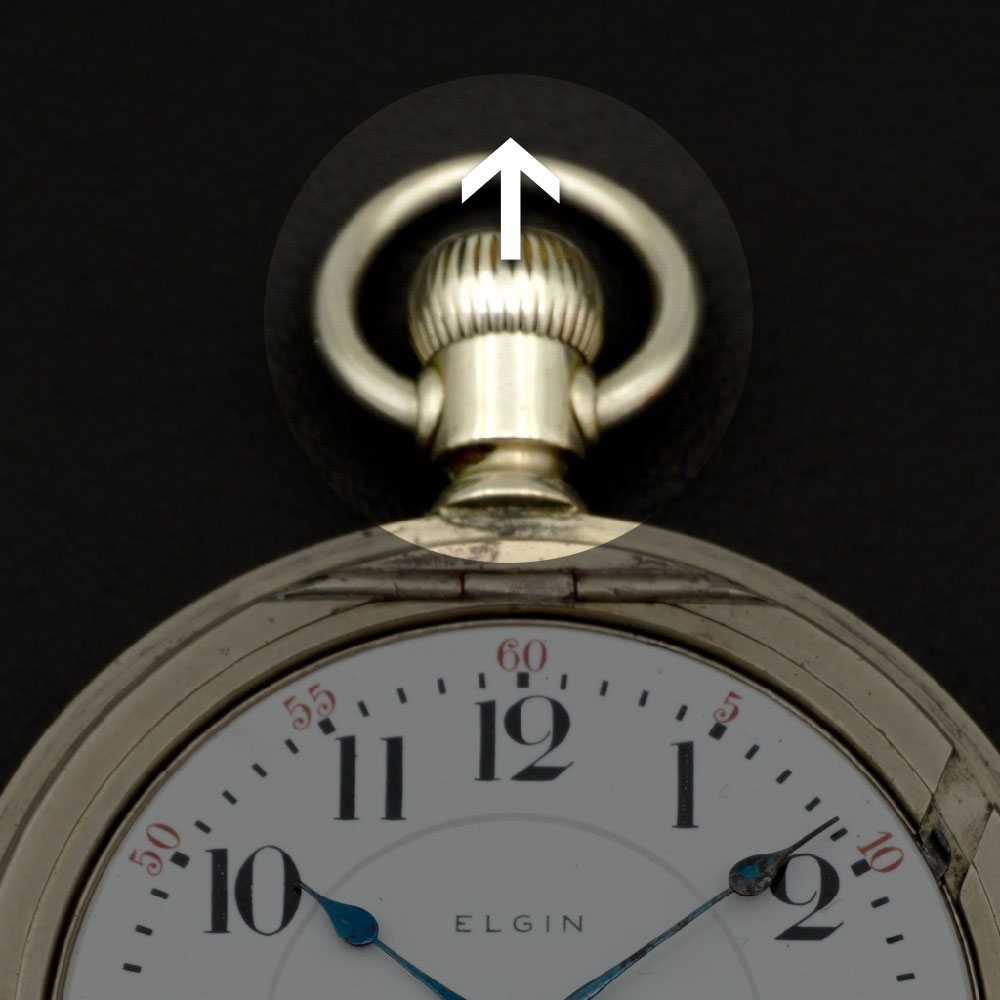
Do not skip this step. The stem can easily break without proper clearance.
Provide internal clearance for the stem by pulling the crown away from the watch until the stem "pops." This is important to complete before the movement ring is swung out from the case.
Step 6
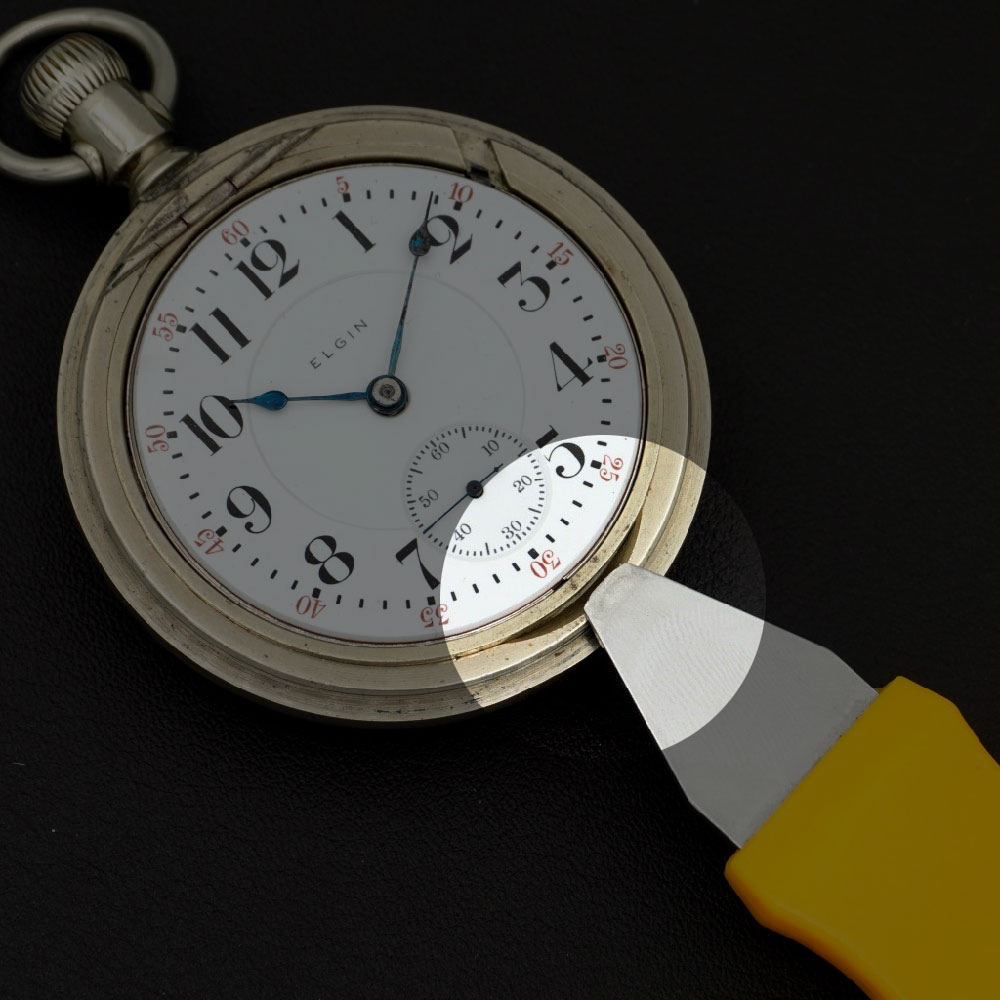
Proceed with caution and do not use excessive force. Even after the crown has been popped in an upward position, the stem may still bind a bit with the movement.
Insert a case knife or thin dull blade under the lip beneath the "6" position and gently twist to separate the movement ring from the case.
Order a Case Knife Kit
Step 7
Proceed with caution and do not use excessive force. Even after the crown has been popped in an upward position, the stem may still bind a bit with the movement.
Carefully swing the ring holding the movement away from the case. If the stem binds near the top of the watch, verify that the crown has been successfully "popped" and rotate the crown back and forth while continuing to swing the movement ring away.
This procedure can be tricky to master.
Step 8
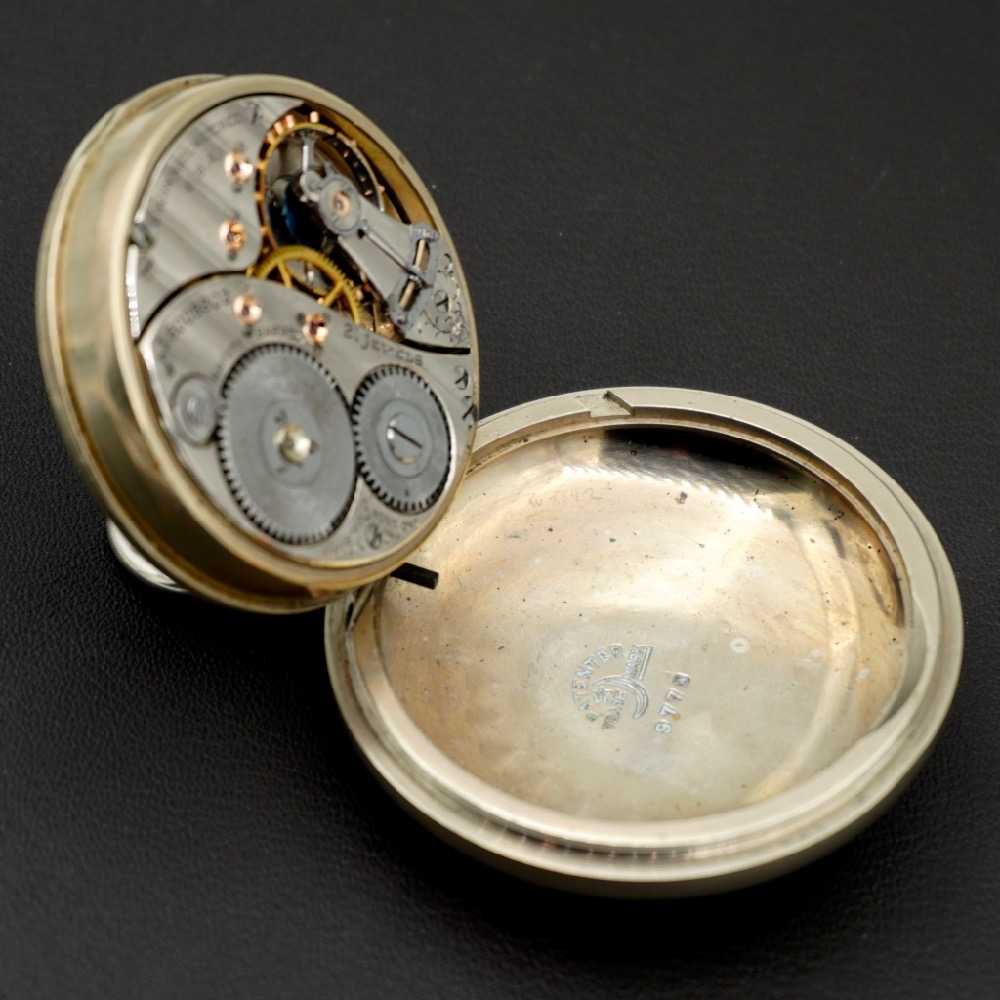
To prevent the movement from accidentally falling out, we recommend cupping the dial-side of the watch when placing the watch dial-down until it can be confirmed the case screws are properly securing the movement inside the ring.
Many of the parts inside the watch are very delicate and should be handled with care. Do not touch the watch movement with bare fingers.
We recommend snapping a few clear photos of the movement prior to closing the case.
Once the stem has been cleared, the movement ring can be swung out fully to expose the movement.
To close the case, simply repeat these instructions in reverse. Take care that the stem is fully seated back into the movement while the ring is returned into the housing. This typically requires rotating the crown back and forth slightly until the stem fits properly into the movement.
Snap Case
Step 1
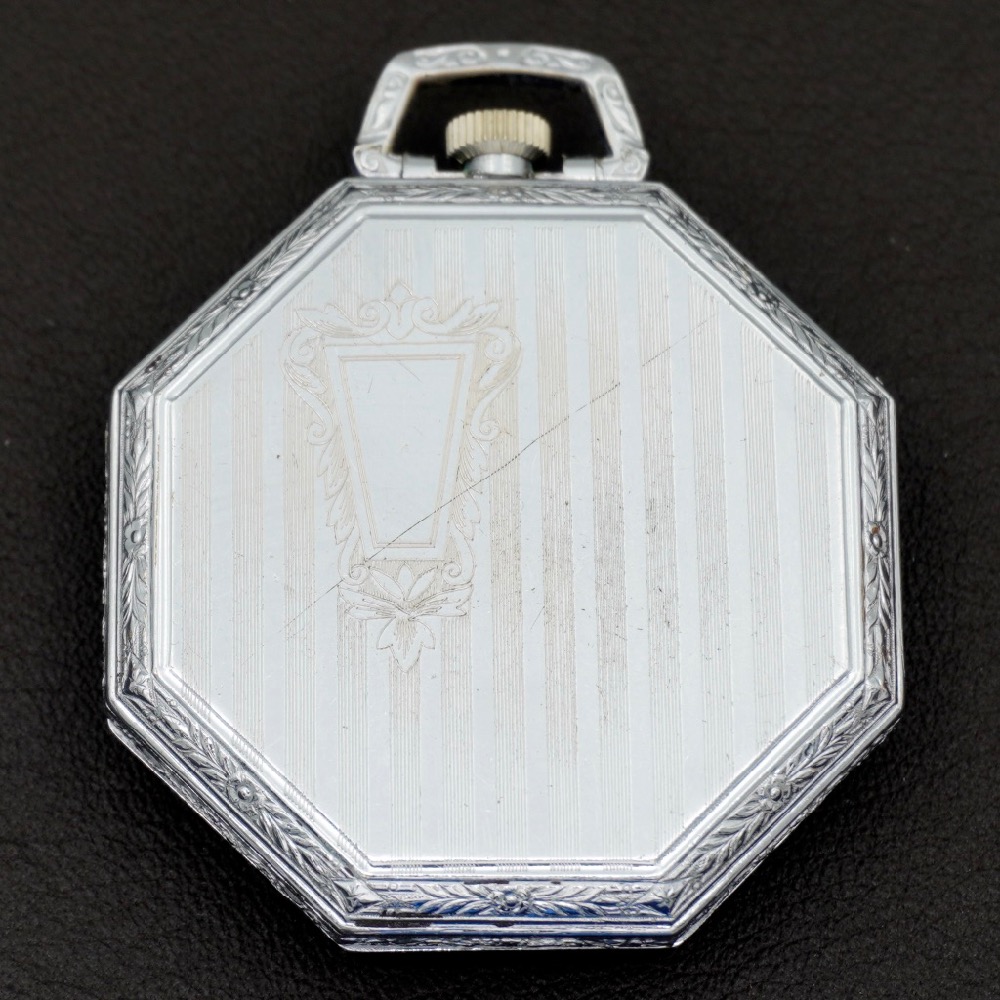
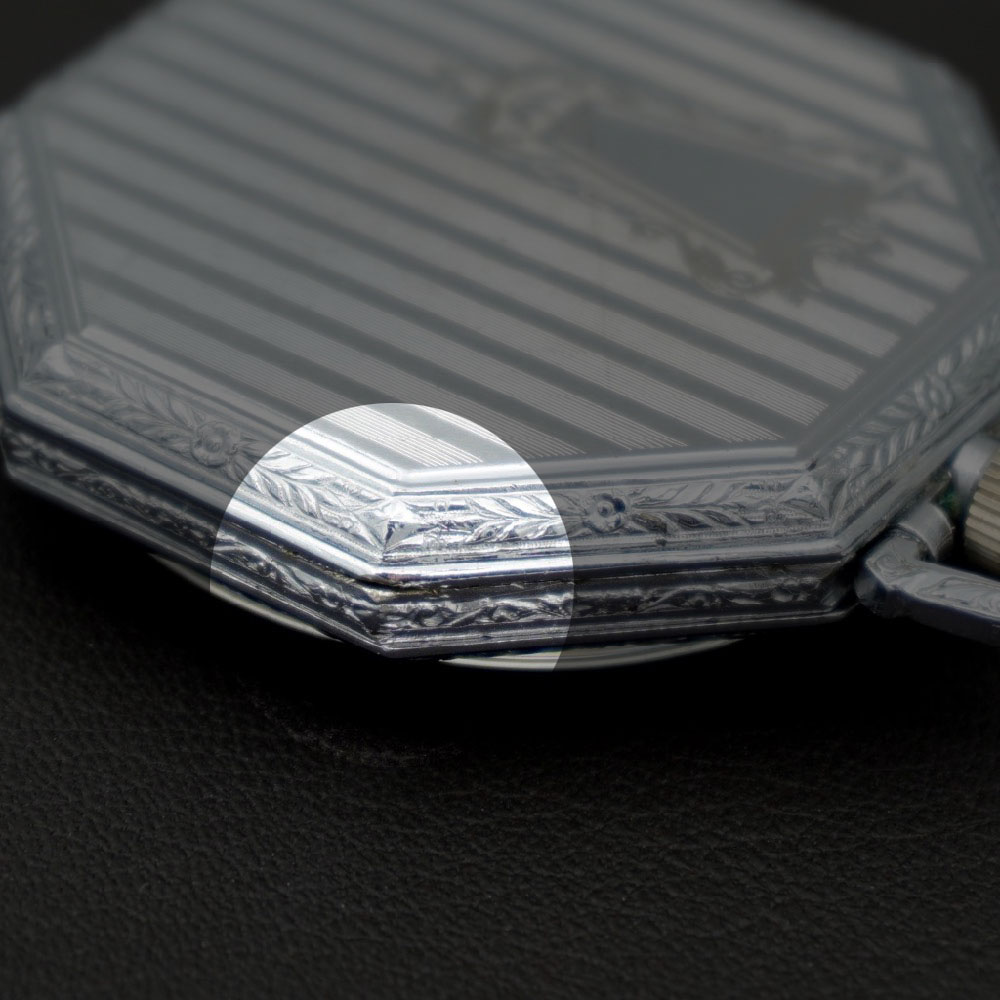
Identify the case by verifying no hinge(s) are present and identify the lip near the pendant.
Step 2
Locate the lip(s) along the perimeter near the pendant. To open the case, focus on the lip located along the back.
Step 3
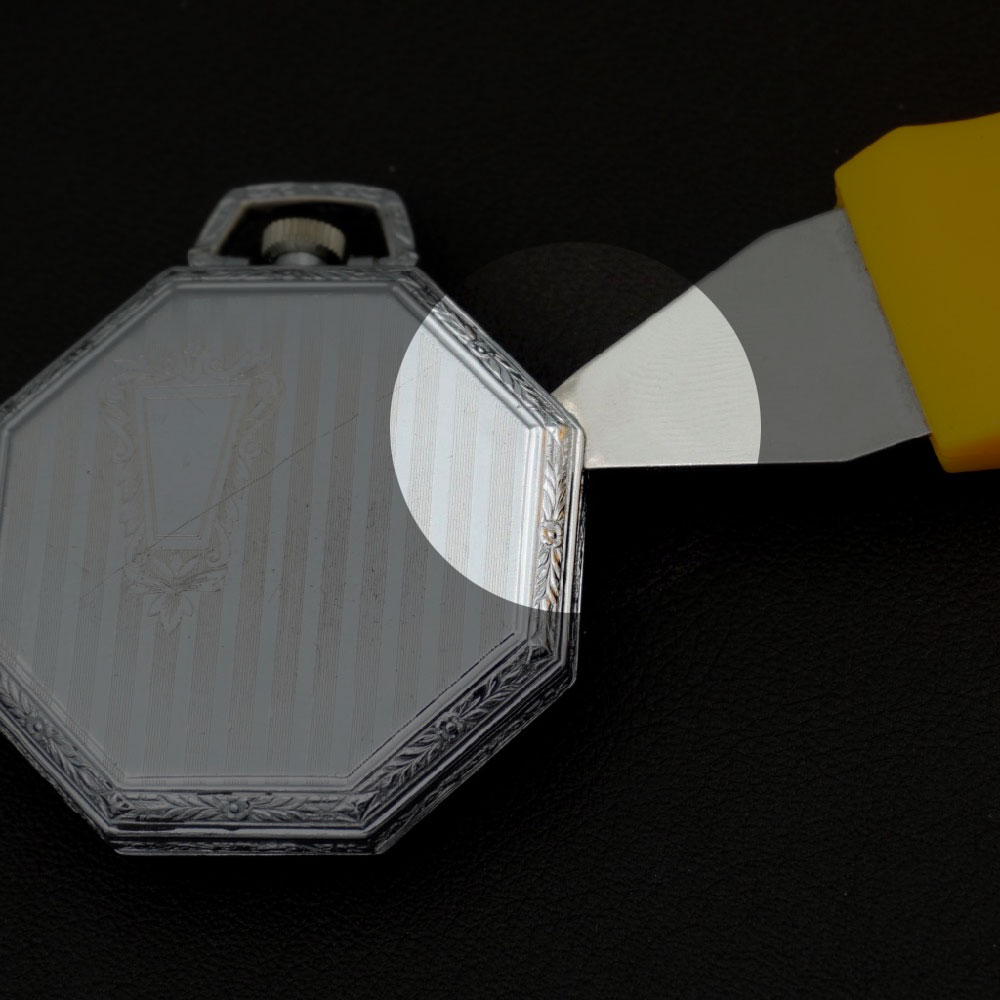
Proceed with caution. The following step can result in scratches or other damage to the movement if the tool slips.
Applying adequate counter-pressure can assist in controlling the tool while inserting.
Carefully insert a case knife or thin dull blade into the space between the lip and the case. Once the blade is in place, twist the tool slightly to separate and "pop" the cover. To prevent scratches and other damage, do not apply pressure toward the center of the case.
Order a Case Knife Kit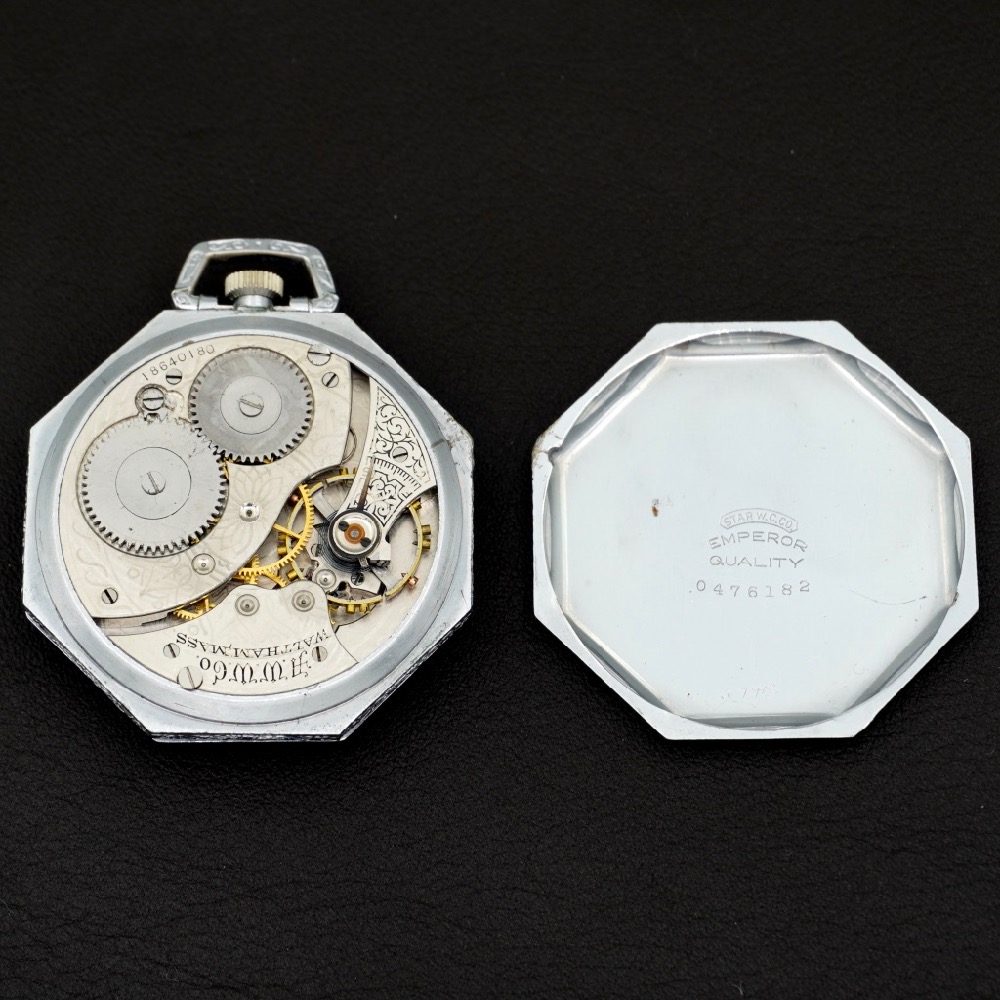
Step 5
Many of the parts inside the watch are very delicate and should be handled with care. Do not touch the watch movement with bare fingers.
We recommend snapping a few clear photos of the movement prior to closing the case.
When closing the case, be sure to align the back the correct way. There is usually an alignment provision for this purpose.
Now that the case has been opened, the serial number and movement details can be viewed.
The watch case should not be kept open for an extended period of time. Each of the covers can be "snapped" back into place by applying pressure around the edge.